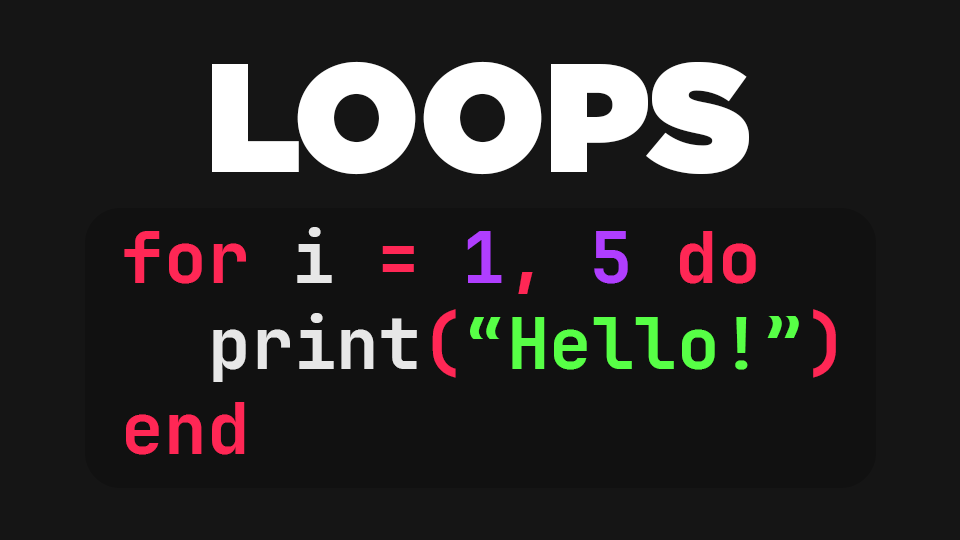
Understanding Loops in Lua For Roblox Studio
When learning how to script in Roblox Studio, loops are something you’re going to use all the time. They let you repeat code without copying and pasting over and over again. In this post, I’ll go over the basics of loops in Lua, the programming language used in Roblox, and show you how to use them effectively.
What Are Loops?
Loops are used to repeat actions in code. So instead of copying and pasting the same three lines ten times, you can write them once and loop them ten times. It makes your code much neater and easier to manage.
Let’s jump into a script to see how it works.
Setting Up the Script
Open Roblox Studio, create a new baseplate, and insert a Script into the Workspace. You can name it “Loops” to stay organized. This is where we’ll do all our examples.
For Loops – Repeating Code a Set Number of Times
Let’s say you have this code:
print("Statement 1")
print("Statement 2")
print("Statement 3")
If you want to repeat that code five times, instead of copying and pasting it five times, you can use a loop.
Here’s how a basic for loop looks:
for myCounter = 1, 5, 1 do
	print("Statement 1")
	print("Statement 2")
	print("Statement 3")
end
This will repeat all three print statements five times. You’ll see in the Output:
Statement 1
Statement 2
Statement 3
Statement 1
Statement 2
Statement 3
...
The for loop has three parts:
- Start (
1) - End (
5) - Step (
1, meaning it increases by 1 each time)
You can also count backwards like this:
for myCounter = 5, 1, -1 do
	print("Counting down")
end
This goes from 5 down to 1.
While Loops – Repeat Until a Condition Changes
A while loop runs as long as a condition is true. You need to control the condition manually to stop the loop from running forever.
Here’s how to write it:
local myWhileCounter = 1

while myWhileCounter <= 5 do
	print("Statement 1")
	print("Statement 2")
	print("Statement 3")

	myWhileCounter = myWhileCounter + 1
end
It does the same thing as the for loop above, but the control is more manual. Don’t forget to increase the counter or the loop will never stop.
Nesting Loops – Loops Inside Loops
You can even put a loop inside another loop. This is called nesting.
Example:
for i = 1, 3 do
	print("A")

	for j = 1, 5 do
		print("B")
	end
end
This prints “A” three times, and each time, it prints “B” five times.
So the Output looks like:
A
B
B
B
B
B
A
B
B
B
B
B
A
B
B
B
B
B
Real Example: Changing the Color of the Baseplate
Let’s use loops to actually do something in the game. For example, change the baseplate’s color repeatedly.
First, get a reference to the Baseplate:
local basePlate = game.Workspace.BaseplateNow use a for loop to change its color several times:
for i = 1, 10, 1 do
	basePlate.BrickColor = BrickColor.new("Toothpaste")
	task.wait(1)

	basePlate.BrickColor = BrickColor.new("Really red")
	task.wait(1)

	basePlate.BrickColor = BrickColor.new("Gold")
	task.wait(1)
end
This changes the baseplate color from Toothpaste to Red to Gold, then repeats that 10 times. The task.wait(1) lets you actually see the changes happen in real time, otherwise they’d flash by instantly.
While Loop Version
You can do the same with a while loop:
local basePlate = game.Workspace.Baseplate
local i = 1

while i <= 10 do
	basePlate.BrickColor = BrickColor.new("Toothpaste")
	task.wait(1)

	basePlate.BrickColor = BrickColor.new("Really red")
	task.wait(1)

	basePlate.BrickColor = BrickColor.new("Gold")
	task.wait(1)

	i = i + 1
end
This gives the same result as the for loop, just using a different loop structure.
Final Thoughts
Loops are super useful in Roblox scripting. Whether you’re changing colors, creating patterns, or moving objects over time, loops help you do it efficiently without cluttering your code.
Try experimenting with different loop types. Here are some quick challenges:
- Use a loop to change the transparency of a part.
- Animate a part moving across the screen using a loop and
CFrame. - Nest two loops to create a grid of parts in rows and columns.
Once you get the hang of loops, you’ll wonder how you ever scripted without them.


