If you’ve opened Roblox Studio and started building, you’ve probably realized something: Studio works – until it doesn’t.
Top studios, the ones behind games with billions of plays, don’t rely on just Studio. They use tools like Git, VS Code, Rojo, and Wally to work faster, collaborate better, and write cleaner code. In this guide, I’ll show you how to set up a pro-level Roblox development workflow, the same one I’ve used across games with over 150 million plays.
Why You Need a Professional Work flow
Roblox Studio gets messy very quickly once your project grows beyond a hobby level. Long, tangled scripts and sprawling file trees become a problem, making it difficult to maintain and refactor your code. Collaboration without version control turns into a nightmare of copying and pasting, frantic messages warning others not to touch scripts while you’re working, and general confusion. Studio’s built-in tools just don’t cut it when your project scales up.
The Tools You’ll Be Using
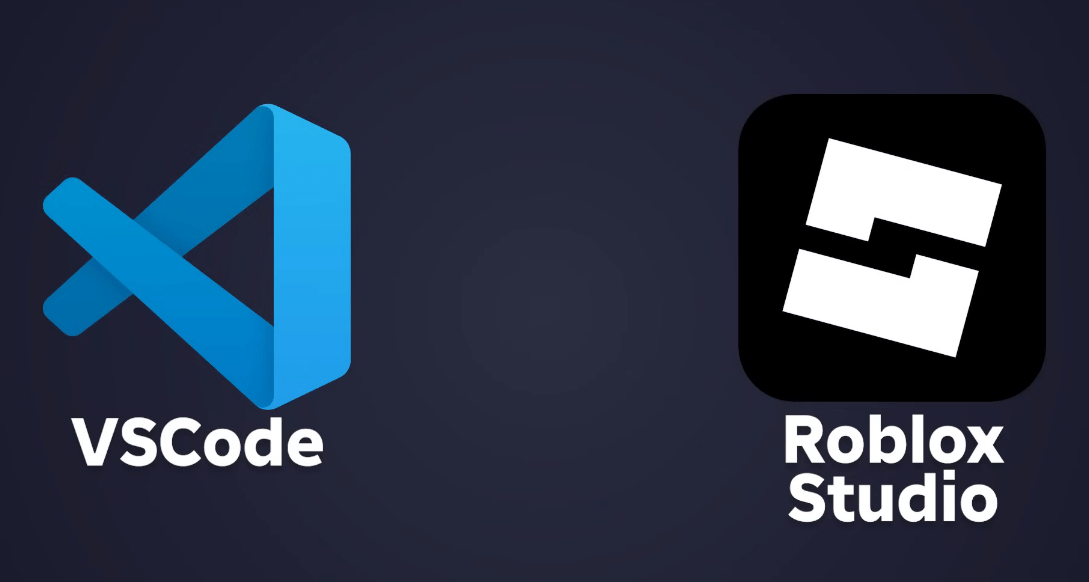
To build at a professional level, you’ll need to use a few key tools. Visual Studio Code serves as a powerful code editor, while Rojo connects VS Code to Roblox Studio, syncing your files live. Git will track your changes and let you collaborate safely, and GitHub provides an online backup and teamwork platform. Wally is your package manager, helping you reuse shared code libraries efficiently. To keep your code clean and consistent, Selene acts as a linter checking for common mistakes, and StyLua automatically formats your code according to official style guides.
Step-by-Step Setup
First, download and install Visual Studio Code. Once installed, save a shortcut to your desktop for quick access. Next, download Rokit from its GitHub releases page. Rokit manages your toolchain, including Rojo and Wally. Extract the downloaded zip, run the installer, and ignore any security warnings from Windows. After installation, make sure to restart your computer.
Now, create a folder to house all your Roblox projects – something like Documents/RobloxProjects works well. Inside that, create a folder for your current game, for example, TutorialGame.
Open this game folder in VS Code. Next, install two essential VS Code extensions: the Luau Language Server, which enables Roblox scripting support, and Rojo, which handles syncing with Roblox Studio.
In the VS Code terminal, initialize your project by running a series of commands: rokit init, followed by rokit add rojo, and then rojo init. This will generate the necessary starter files and configuration, including a default.project.json that outlines your project’s structure.
To connect everything with Roblox Studio, install the Rojo plugin inside Studio. Restart Studio if it was open during the installation. In VS Code, click the green Rojo play button to start live syncing. In Studio, open the Rojo plugin and click “Connect.” You should now see the scripts created in VS Code appear live inside Roblox Studio.
Next, to keep your code clean and maintainable, install Selene and StyLua. Create a simple selene.toml file with a single line: std = "roblox". This configures Selene to lint your code for Roblox-specific issues. Enable auto-formatting by opening VS Code’s settings JSON and adding a small snippet to auto-format Lua files on save.
Auto imports can save you a lot of typing. Enable the auto-import feature in the Luau Language Server settings, and it will automatically suggest and complete Roblox services and modules as you type.
With the core editing environment set up, it’s time to manage your dependencies using Wally. Use Rokit to add Wally to your project by running commands like rokit add wally and rokit add wally-package-types. A wally.toml file will be created, where you can add any packages you want from the Wally website, such as Promise or ProfileService. Once you add the packages to wally.toml, install them by running wally install. Update your default.project.json to include these packages under the appropriate folders like ReplicatedStorage and ServerScriptService, so Rojo knows to sync them with Studio.
Finally, it’s time to set up version control with Git and GitHub. Download Git if you haven’t already and create a GitHub account. Configure Git in VS Code by setting your username and email to match your GitHub account. Initialize your repository from the Source Control tab, commit your files, and add a .gitignore file to exclude generated folders and files like Packages/, ServerPackages/, sourcemap.json, and wally.lock. Publish your repository to GitHub for safe online backup and collaboration.
To work on new features safely, create new branches in Git for each feature or change. For example, you might create a branch called feature/tank-class for a new tank system. This way, changes won’t affect your main branch until you merge them. On GitHub, you can review code and handle pull requests for team collaboration.
Final Thoughts
With VS Code, Rojo, Wally, Selene, StyLua, and Git all working together, you have a professional-grade Roblox development workflow. You get live syncing with Studio, reusable packages, automatic formatting, linting, and safe version control. This is exactly how real studios build and maintain large Roblox projects at scale.